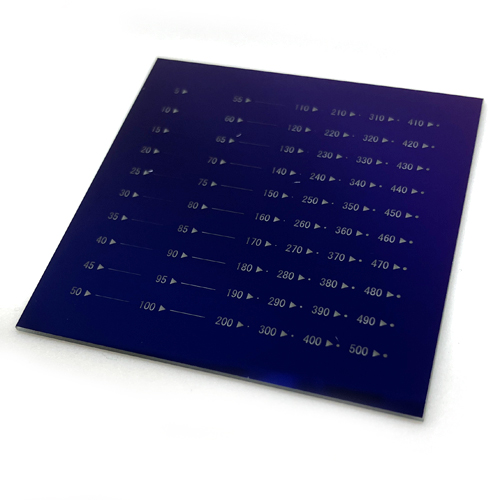
Test Chart: List

Scratch Inspection Plate

This product is ideal for quantifying the size of scratches and digs on optical elements.
Two types are available: positive patterns and negative patterns. The positive pattern is an opaque pattern deposited on a transparent substrate, while the negative pattern is the inverse of the positive pattern.
At Shibuya Optical, we can also produce custom designs to meet your needs, so please feel free to contact us.
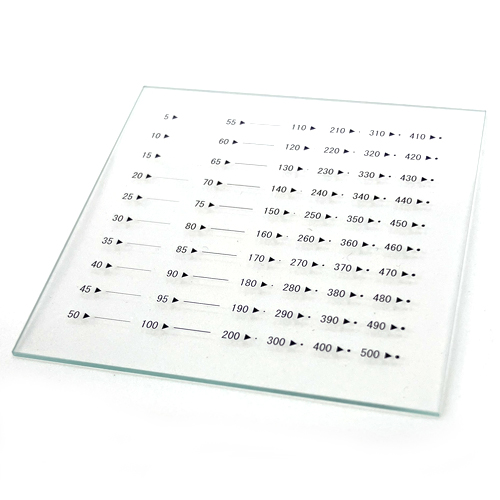
Scratch Inspection Plate: Photo 2SJ1-P
Scratch Inspection Plate: Photo 3SJ1-N

Price List

Model Number SJ1-P SJ1-N
Material Soda Glass Soda Glass
Dimensions 55 x 55 mm (Thickness 1 mm) 55 x 55 mm (Thickness 1 mm)
Scale 20 lines with a width of 0.005 mm to 0.1 mm
40 circles with a diameter of 0.11 mm to 0.5 mm
20 lines with a width of 0.005 mm to 0.1 mm
40 circles with a diameter of 0.11 mm to 0.5 mm
List Price 50,000 yen 50,000 yen
Detailed Drawing
Inquiry
To top